In the dynamic world of home audio and video, your receiver stands as the central hub, processing sound and picture to deliver an immersive entertainment experience. Like any sophisticated electronic device, your receiver relies on its internal software, known as firmware, to function optimally. Keeping this firmware up-to-date isn’t just about chasing the latest features; it’s essential for maintaining peak performance, addressing security vulnerabilities, and ensuring compatibility with evolving technologies. This comprehensive guide will walk you through everything you need to know about updating your receiver’s firmware, ensuring a smooth and successful process from start to finish.
What is Receiver Firmware?
Firmware is a specialized type of software embedded directly into your receiver’s hardware. Unlike the applications you install on a computer or smartphone, firmware is designed to operate at a fundamental level, providing the core instructions that allow your receiver’s components to communicate and perform their intended functions. It’s the “brain” that dictates how your receiver processes audio signals, manages video inputs, connects to your network, and interacts with other devices in your home theater setup. Without firmware, your receiver would be little more than a collection of inert circuits.
Why Update Your Receiver’s Firmware?
Regularly updating your receiver’s firmware offers a multitude of benefits, extending its lifespan, enhancing its capabilities, and improving your overall user experience.
Enhance Performance and Stability
|
Our Picks for the Best Digital receiver in 2026
As an Amazon Associate I earn from qualifying purchases.
|
||
| Num | Product | Action |
|---|---|---|
| 1 | Pyle Home Stereo Receiver with Bluetooth - 4 Channel Amplifier, 800 Watt Max, USB-A Input w MP3 Player, Easy Karaoke Setup with Mic Vol, Reverb and Delay, RCA in/Out, SD Card, FM Radio - PDA77BU |

|
| 2 | YAMAHA R-S202BL Stereo Receiver |
|
| 3 | Pyle 4-Channel Audio Amplifier with Bluetooth - Home Stereo Receiver w/ 500W Max Power - Commercial or Karaoke - Dual Mic Input with Echo, Vol, Talk-Over - AUX In - Sub Out - USB-A MP3 Player, AM/FM |
|
| 4 | Donner Stereo Audio Amplifier, 600W Peak 2 Channel Receiver with Bluetooth 5.3, Phono, Optical, Coaxial, USB, FM, 2 Mic-in, Aux, RCA Input for Home, Karaoke, Theater Speakers, MAMP2 |
|
| 5 | Digital TV Converter Box, ATSC Tv Tuner - ZJBOX for Analog HDTV Live 1080P with Recording&Playback,HDMI Output, Timer Setting Tuner Function Digital Channel Free |
|
| 6 | Sony STRDH190 2-ch Home Stereo Receiver with Phono Inputs & Bluetooth Black |
|
| 7 | Denon AVR-S570BT AV Receiver 5.2 Channel 8K Ultra HD Audio & Video, Stereo Receivers, Denon AVR Wireless Streaming Bluetooth, (4) 8K HDMI Inputs, eARC, HD Setup Assistant |
|
| 8 | Daakro AK45 Stereo Audio Amplifier,300W Home 2 Channel Wireless Bluetooth 5.0 Power Amplifier System, Home Amplifiers FM Radio, USB, SD Card, with Remote Control Home Theater Audio Stereo System |
|
| 9 | Pyle 200W Stereo Power Amplifier with Bluetooth - Dual Channel Audio Receiver - LED Display - RCA - USB - SD - MIC IN - FM Radio - AUX Input - Perfect for Home & Computer Audio - PDA29BU.5 |
|
| 10 | Denon AVR-X1700H 7.2 Channel AV Receiver - 80W/Channel, Advanced 8K HDMI Video w/eARC, Dolby Atmos, DTS:X, Built-in HEOS, Amazon Alexa Voice Control |
|
Manufacturers frequently release firmware updates to optimize internal processing, leading to improved sound quality, more efficient video handling, and smoother operation. These updates can refine Digital Signal Processing (DSP) paths, enhance codec handling, and reduce audio dropouts or video glitches, providing a more stable and polished performance.
Fix Bugs and Improve Reliability
No software is perfect, and receivers, like any complex electronic device, can encounter bugs or unexpected behaviors. Firmware updates are crucial for addressing these issues, ranging from minor annoyances like inconsistent AirPlay volume alignment to more critical problems such as random power-offs or specific input malfunctions. These fixes contribute significantly to the receiver’s reliability and predictability in daily use.
Unlock New Features and Services
Beyond bug fixes, firmware updates can introduce exciting new functionalities. This might include support for the latest streaming services (e.g., Tidal Hi-Res FLAC, Qobuz Connect), integration with smart home ecosystems (like Roon Ready compatibility), or even new audio and video codecs. Staying current ensures your receiver can keep pace with advancements in entertainment technology, potentially saving you from needing a costly hardware upgrade.
Security Enhancements
In an increasingly connected world, network-enabled receivers can be susceptible to security vulnerabilities. Firmware updates often include patches to bolster security, protecting your device and network from potential threats.
Preparing for a Firmware Update
Before you begin the update process, a little preparation goes a long way in ensuring a seamless experience.
- Identify Your Receiver Model: Know the exact model number of your receiver. This is crucial for downloading the correct firmware file, as updates are model-specific.
- Check Current Firmware Version: Most receivers allow you to check the current firmware version through their on-screen display (OSD) menu under “System Information” or “Setup.” Make a note of it so you can verify the update later.
- Gather Necessary Tools:
- Stable Internet Connection: Essential for network updates and downloading files for USB updates.
- USB Flash Drive: For manual updates, use a reliable USB drive (8GB or 16GB is usually sufficient). Ensure it’s formatted correctly (FAT32 is common) and ideally empty.
- Backup Settings (If Possible): Some advanced receivers offer an option to back up your personalized settings (speaker calibrations, input assignments) to a USB drive. It’s a good practice to do this, as some updates or troubleshooting steps might reset your device.
Methods to Update Your Receiver’s Firmware
Receivers typically offer one of two primary methods for firmware updates: via a network connection or through a USB drive.
Method 1: Network Update (Recommended for Network-Enabled Receivers)
This is the most convenient method for modern receivers connected to your home network.
- Ensure Network Connection: Confirm your receiver is properly connected to your home Wi-Fi or via an Ethernet cable. A stable internet connection is paramount.
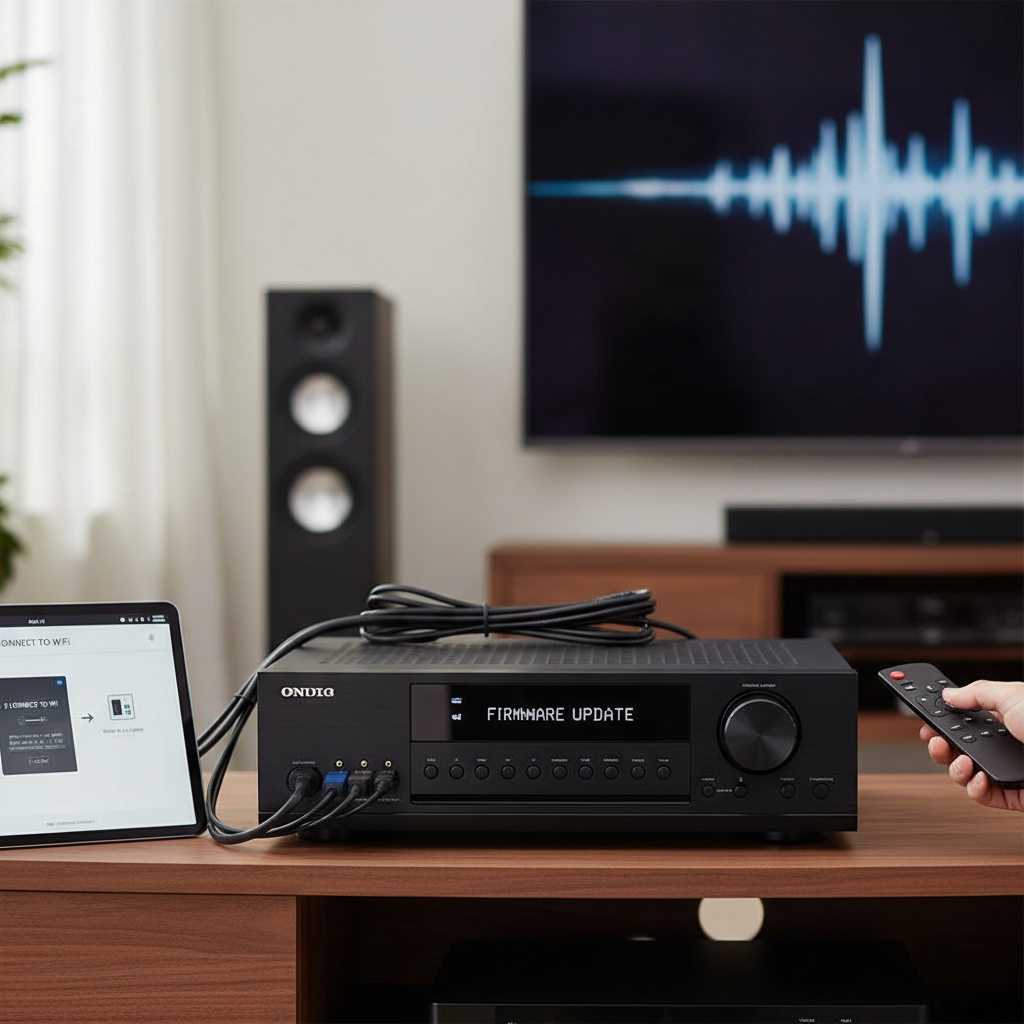
- Access Update Menu: Using your receiver’s remote control, navigate to the on-screen display (OSD) menu. Look for sections like “Setup,” “System,” “Firmware Update,” or “Software Update.”
- Check for Update: Select the option to “Check for Update” or “Software Update.” Your receiver will communicate with the manufacturer’s server to see if a new firmware version is available for your specific model.
- Follow On-Screen Prompts: If an update is detected, the receiver will guide you through the download and installation process. Confirm any prompts to proceed.
- Allow Process to Complete: The receiver will download the firmware and install it. This can take anywhere from 10 to 30 minutes, sometimes longer, depending on the file size and your network speed. Your receiver may restart multiple times during this process.
Method 2: USB Update (For Older Models or When Network Fails)
This method involves manually downloading the firmware and transferring it to your receiver using a USB flash drive.
- Download Firmware: Visit your receiver manufacturer’s official support website. Locate your specific receiver model and navigate to its “Downloads” or “Support” section. Download the latest firmware file (often a .zip or .bin file) to your computer.
- Prepare USB Drive:
- Extract the downloaded firmware file if it’s compressed (e.g., a .zip file). You should end up with a specific firmware file (e.g.,
firmware.binor a folder containing the update files). - Copy only the extracted firmware file(s) or folder to the root directory of your USB flash drive. Do not place it inside other folders on the drive, and ensure no other unnecessary files are present.
- Confirm your USB drive is formatted as FAT32, as most receivers require this.
- Extract the downloaded firmware file if it’s compressed (e.g., a .zip file). You should end up with a specific firmware file (e.g.,
- Insert USB into Receiver: With your receiver powered off, insert the prepared USB flash drive into the designated USB port on your receiver (often on the front panel).
- Access Update Mode: This step is crucial and varies significantly by manufacturer and model. You might need to:
- Power off the receiver, then press and hold a specific button (e.g., “Straight,” “Tuner,” “Input Selector”) while simultaneously powering the unit back on. This often triggers an “Advanced Setup” or “Service Menu.”
- Access a menu option through the receiver’s front panel display (without the TV OSD) once the USB is inserted.
- Consult your receiver’s owner’s manual for the exact procedure.
- Initiate Update: Once in the update mode, navigate the front panel controls (or OSD, if available) to select “Update USB” or a similar option. Press “Enter,” “Info,” or “Start” to begin the update.
- Monitor Progress: The receiver’s display will typically show the update progress. Wait patiently for the process to complete.
Critical Precautions During the Update Process
The most critical aspect of any firmware update is ensuring an uninterrupted power supply.
- DO NOT Unplug or Power Off: Absolutely do not disconnect the power cord, turn off the receiver, or remove the USB drive (if using that method) while the update is in progress. Doing so can corrupt the firmware, rendering your receiver unusable (“bricking” it).
- Stable Power Supply: If you live in an area prone to power fluctuations, consider performing the update with your receiver connected to an uninterruptible power supply (UPS) for added protection.
- Patience is Key: Firmware updates can take time, sometimes up to 20 minutes or more. Resist the urge to intervene if the screen goes blank or the progress bar seems stuck. The receiver may restart multiple times.
- Avoid Operating the Receiver: Do not press any buttons on the receiver or remote during the update unless specifically instructed by the on-screen prompts or manual.
Verifying a Successful Firmware Update
Once the update process is complete, your receiver will typically restart automatically.
- Check Firmware Version: Go back to the “System Information” or “Setup” menu and verify that the firmware version displayed matches the updated version you intended to install.
- Test Key Functions: Play some audio and video, test different inputs, and try out any new features that the update was supposed to introduce. Ensure everything is working as expected.
Troubleshooting Common Firmware Update Issues
Even with careful preparation, issues can sometimes arise. Here are common problems and potential solutions:
Update Fails to Start
- Incorrect Firmware File: Double-check that you downloaded the exact firmware for your receiver model.
- Faulty or Incompatible USB Drive: Try a different USB drive. Ensure it’s properly formatted (FAT32) and not password-protected or encrypted.
- USB Port Issue: Test the receiver’s USB port with another device to ensure it’s functioning.
- Network Problems: For network updates, verify your internet connection. Try streaming content or browsing online on another device. Restart your router or modem if needed.
Receiver “Bricked” (Unresponsive)
This usually occurs due to power loss or interruption during the update.
- Power Cycle: Disconnect the receiver from power for a few minutes, then plug it back in and attempt to restart.
- USB Recovery: Some receivers have a specific USB recovery mode. Consult your manual or manufacturer support for steps.
- Professional Repair: If the receiver remains unresponsive, it may require service by a qualified technician.
Post-Update Instability
If you experience random reboots, freezing, audio distortion, or loss of functionality after an update:
- Power Cycle: Perform a full power cycle by unplugging the receiver for several minutes.
- Factory Reset: As a last resort, a factory reset can resolve many post-update glitches by returning the receiver to its default settings. Be aware this will erase all your custom configurations. Refer to your manual for reset instructions, as these often involve specific button combinations.
- Check Cables: Ensure all HDMI and audio cables are securely connected.
- Manufacturer Support: Contact the receiver manufacturer’s support for specific troubleshooting relevant to your model and the update.
Conclusion
Keeping your receiver’s firmware updated is a vital maintenance task that ensures you get the most out of your home entertainment system. By following the steps outlined in this guide and observing critical precautions, you can confidently perform firmware updates, unlocking new features, improving performance, and resolving potential issues. A well-maintained receiver provides a consistently superior audio-visual experience, allowing you to fully immerse yourself in your favorite movies, music, and games for years to come.
What new features are you hoping to unlock with your next receiver firmware update?
Frequently Asked Questions
How long does a firmware update typically take?
The duration of a firmware update can vary significantly, usually ranging from 10 to 30 minutes, depending on the file size, your internet connection speed (for network updates), and the receiver model. It’s crucial to allow the process to complete without interruption.
What happens if the power goes out during a firmware update?
A power outage during a firmware update can corrupt the receiver’s internal software, potentially rendering the device inoperable, a condition often referred to as “bricking.” Always ensure a stable power supply during the update process, and consider using a UPS if power interruptions are a concern.
Can I downgrade my receiver’s firmware to an older version?
Most manufacturers do not provide an official method for downgrading firmware, and attempting to do so unofficially can be risky and may void your warranty. Firmware updates are generally designed to be irreversible, providing cumulative improvements and fixes.
Do all receivers have firmware updates?
While most modern network-enabled AV receivers receive regular firmware updates to add features and fix bugs, older or simpler models, particularly those without network connectivity, may have limited or no available updates. Always check your manufacturer’s support page for specific information about your model.
How often should I update my receiver’s firmware?
There’s no fixed schedule for firmware updates. It’s best to check your manufacturer’s website periodically or subscribe to their notifications. Update your firmware when a new version is released that addresses issues you’re experiencing or offers features you desire. Avoid updating just for the sake of it, but don’t neglect critical updates either.