Have you ever turned on your TV, eager to catch your favorite show, only to find missing channels or a blank screen? It’s a common and frustrating experience, especially when you’ve invested in a TV box for your digital entertainment. But what if you could easily fix this yourself? Learning how to scan for channels on your box is a fundamental skill that empowers you to take control of your viewing experience. This comprehensive DIY guide will walk you through the process step-by-step, explain why channel scanning is necessary, and provide actionable troubleshooting tips to ensure you’re getting all the available channels.
Understanding Channel Scanning and Its Importance
Channel scanning is the process by which your digital television, converter box, or set-top box searches for and locks onto available broadcast signals in your area. Think of it as your device’s way of finding all the local stations and adding them to your channel list. This procedure is crucial for several reasons:
- Initial Setup: When you first connect a new TV box or antenna, a channel scan is essential to populate your channel guide.
- Missing Channels: Channels can disappear due to changes in broadcast frequencies, transmitter maintenance, or even environmental factors affecting signal strength. A fresh scan can bring them back.
- New Channel Discoveries: Broadcasters occasionally launch new channels or make adjustments to existing ones. Regular scanning ensures you’re always up-to-date with available content.
- Antenna Adjustments: If you’ve moved or repositioned your over-the-air (OTA) antenna, a rescan is necessary to detect any newly accessible signals.
|
Our Picks for the Best Digital receiver in 2026
As an Amazon Associate I earn from qualifying purchases.
|
||
| Num | Product | Action |
|---|---|---|
| 1 | Denon AVR-S570BT AV Receiver 5.2 Channel 8K Ultra HD Audio & Video, Stereo Receivers, Denon AVR Wireless Streaming Bluetooth, (4) 8K HDMI Inputs, eARC, HD Setup Assistant |

|
| 2 | Donner Stereo Audio Amplifier, 600W Peak 2 Channel Receiver with Bluetooth 5.3, Phono, Optical, Coaxial, USB, FM, 2 Mic-in, Aux, RCA Input for Home, Karaoke, Theater Speakers, MAMP2 |
|
| 3 | Pyle 4-Channel Audio Amplifier with Bluetooth - Home Stereo Receiver w/ 500W Max Power - Commercial or Karaoke - Dual Mic Input with Echo, Vol, Talk-Over - AUX In - Sub Out - USB-A MP3 Player, AM/FM |
|
| 4 | Digital TV Converter Box, ATSC Tv Tuner - ZJBOX for Analog HDTV Live 1080P with Recording&Playback,HDMI Output, Timer Setting Tuner Function Digital Channel Free |
|
| 5 | YAMAHA R-S202BL Stereo Receiver |
|
| 6 | Daakro AK45 Stereo Audio Amplifier,300W Home 2 Channel Wireless Bluetooth 5.0 Power Amplifier System, Home Amplifiers FM Radio, USB, SD Card, with Remote Control Home Theater Audio Stereo System |
|
| 7 | Pyle Home Stereo Receiver with Bluetooth - 4 Channel Amplifier, 800 Watt Max, USB-A Input w MP3 Player, Easy Karaoke Setup with Mic Vol, Reverb and Delay, RCA in/Out, SD Card, FM Radio - PDA77BU |
|
| 8 | Sony STRDH190 2-ch Home Stereo Receiver with Phono Inputs & Bluetooth Black |
|
| 9 | Denon AVR-X1700H 7.2 Channel AV Receiver - 80W/Channel, Advanced 8K HDMI Video w/eARC, Dolby Atmos, DTS:X, Built-in HEOS, Amazon Alexa Voice Control |
|
| 10 | Pyle 200W Stereo Power Amplifier with Bluetooth - Dual Channel Audio Receiver - LED Display - RCA - USB - SD - MIC IN - FM Radio - AUX Input - Perfect for Home & Computer Audio - PDA29BU.5 |
|
Essential Factors Before You Begin Your DIY Channel Scan
Before you dive into the scanning process, a quick check of your setup can prevent common headaches and ensure a smooth experience.
- Identify Your Device and Remote: Are you scanning a smart TV, a separate digital converter box, a cable box, or a satellite receiver? Use the remote specifically designed for the device whose channels you want to scan. If you’re using a converter box with an older analog TV, always use the converter box remote.
- Verify Your Input Source: Ensure your TV is set to the correct input source. This might be “Antenna” or “Air” for over-the-air broadcasts, or “Cable,” “CATV,” or “Digital Cable” for wired connections. An incorrect input will prevent the scan from finding channels.
- Check All Connections: Loose or damaged cables are a leading cause of signal issues.
- Coaxial Cable: The screw-on cable connecting your antenna or wall outlet to your box/TV must be securely fastened at both ends.
- HDMI/AV Cables: Ensure these are firmly plugged into their respective ports.
- Power: Confirm your box and TV are properly plugged into a working power outlet.
- Antenna Positioning (for Over-the-Air): If you’re using an antenna, its position is critical. For indoor antennas, try elevating them or moving them closer to an exterior wall. For outdoor antennas, ensure they’re pointed towards local broadcast towers, free from obstructions like trees or buildings. Even small adjustments can significantly impact reception.
Step-by-Step Guide: How to Scan for Channels on Your Box
The exact menu options may vary slightly between brands and models, but the general procedure for scanning channels is consistent.
- Power On Your Devices: Turn on your television and your digital TV box or converter box.
- Select the Correct Input: Using your TV remote, select the input source that corresponds to your TV box (e.g., HDMI 1, AV). If you’re scanning directly on your TV’s tuner, select “TV” or “Antenna” input.
- Access the Menu/Settings: Grab the remote for the device you wish to scan (your TV remote for a TV scan, your converter box remote for the box). Look for a button labeled “Menu,” “Settings,” or sometimes a gear icon. Smart TVs might have a dedicated “Smart” button with the manufacturer’s logo to access settings.
- Navigate to Channel/Tuner Setup: Once in the menu, use the arrow buttons to navigate. You’re looking for sections like:
- “Channels”
- “Installation”
- “Setup”
- “Tuner Setup”
- “System”
- Select Scan Option: Within this section, find an option that initiates the channel search. Common terms include:
- “Auto Scan”
- “Auto Program”
- “Channel Search”
- “Auto Tuning”
- “Program Channels”
- “Begin Channel Scan”
- For cable setups, you might first need to confirm the “Antenna Type” or “Connection Type” is set to “Cable” (or “CATV”, “Digital Cable”).
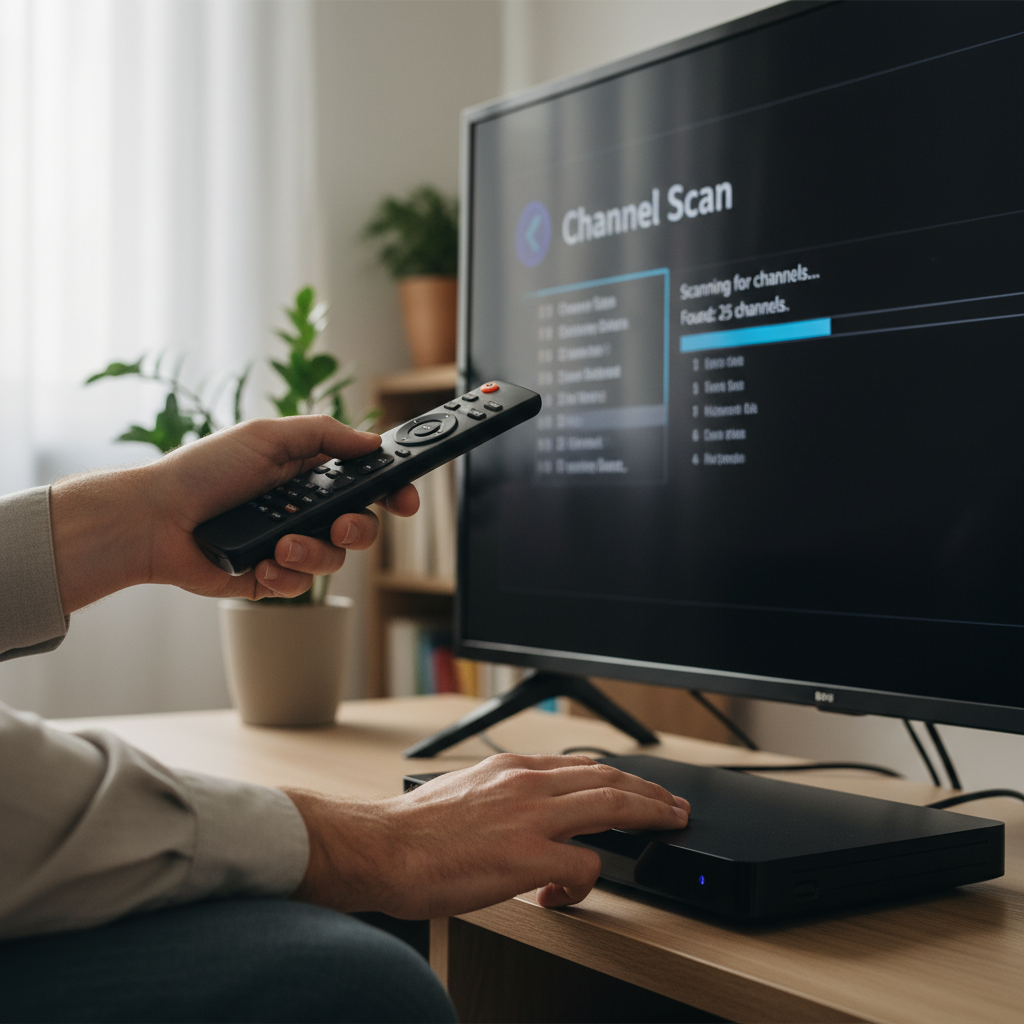
- Initiate the Scan: Highlight the scan option and press “OK” or “Enter.” The device will then begin searching for available channels. This process can take anywhere from a few minutes to up to an hour, depending on your device and signal conditions. You’ll typically see a progress bar and a count of channels found.
- Complete and Exit: Once the scan is finished, a message will usually confirm completion. Press “Exit” or “Quit” on your remote to return to regular viewing. Your channel list should now be updated.
Troubleshooting Common Channel Scan Issues
Sometimes, a simple scan isn’t enough. If you’re still encountering problems, these troubleshooting steps can help resolve them.
-
Perform a “Double Re-Scan” (Dead Re-Scan): This advanced technique can clear out old, confusing channel data from your tuner.
- Disconnect the Antenna: Unplug the coaxial cable from the back of your TV or converter box.
- Scan Without Antenna: Perform a full channel scan as described above. Since there’s no antenna, it should find zero channels.
- Power Cycle: Unplug your TV box or digital TV from the power outlet for at least one minute.
- Reconnect and Re-Scan: Plug the power back in, reconnect your antenna, and perform another full channel scan. This process essentially resets the tuner’s memory.
-
Check Signal Strength: Most TV boxes and digital TVs have a signal strength meter in their settings menu (often under “Settings,” “Setup,” or “Options,” then “Signal Strength” or “Signal Quality”). A weak signal, indicated by a low number or red bar, can prevent channels from being tuned.
- Antenna Adjustment: If your signal is weak, try repositioning your antenna. Even a slight change in angle or height can improve reception.
- Bypass Splitters: If you’re using a signal splitter, try connecting your TV box directly to the wall outlet or antenna cable. Splitters can weaken the signal.
- Consider an Amplifier: For areas with notoriously weak signals, an amplified indoor or outdoor antenna might be necessary.
-
Inspect Cables for Damage: Beyond loose connections, physically check your coaxial cables for kinks, frays, or damage. A faulty cable can severely degrade signal quality. Replacing a damaged cable is an inexpensive fix.
-
Update Firmware: Just like your computer or smartphone, your TV box runs on software called firmware. Outdated firmware can lead to bugs and performance issues, including scanning problems. Check your box’s settings menu for a “Firmware Update” or “Software Update” option. If an update is available, follow the on-screen instructions. Important: Do not turn off your device during a firmware update.
-
Factory Reset (Last Resort): If all else fails, a factory reset can resolve persistent software glitches. Be aware that this will erase all your custom settings, preferences, and channel lists, returning the device to its default state. Look for “Factory Reset” or “Reset to Default” in the settings menu. You’ll need to re-enter your preferences and perform a fresh channel scan afterward.
Tips for Optimizing Your Channel Reception
Once you’ve successfully scanned for channels, a few habits can help maintain optimal reception and ensure you don’t miss out on content.
- Perform Periodic Re-scans: The FCC recommends rescanning channels every three to four months. This helps capture any new channels or frequency changes in your area.
- Strategic Antenna Placement: For over-the-air viewing, the placement of your antenna is paramount. Use online tools to locate broadcast towers in your region and aim your antenna accordingly. Avoid placing antennas near large metal objects, appliances, or thick walls that can interfere with signals.
- Avoid Signal Obstructions: Trees, buildings, and geographical features can block or degrade signals. Try to position your antenna with a clear line of sight to broadcast towers.
Conclusion
Mastering the art of scanning for channels on your TV box is a simple yet powerful DIY skill that enhances your digital entertainment experience. By following these straightforward steps and understanding the common troubleshooting techniques, you can easily restore missing channels, discover new ones, and optimize your reception. No more blank screens or missed shows – just clear, vibrant programming at your fingertips. So, go ahead, give it a try. What new channels will you discover today?
Frequently Asked Questions
Why do I need to scan for channels periodically?
You should scan for channels periodically, typically every few months, because broadcasters sometimes change their frequencies or launch new channels. A re-scan ensures your box updates its channel list and captures all available programming in your area.
What if my TV box doesn’t have an “auto scan” option?
Most digital TVs and converter boxes will have an equivalent option, though the wording may vary. Look for terms like “Auto Program,” “Channel Search,” “Auto Tuning,” “Installation,” or a “Setup” menu that contains these options. If you’re still unsure, consult your device’s owner’s manual.
Can I scan for channels without an antenna?
Yes, if you’re receiving signals via cable or satellite, you typically do not need an over-the-air (OTA) antenna. Your box will scan for channels through the coaxial cable connected to your cable TV service or the satellite dish. However, for free over-the-air broadcasts, an antenna is essential.
How long does a channel scan typically take?
A channel scan usually takes anywhere from a few minutes to approximately an hour to complete. The duration can vary depending on the specific model of your TV box or television and the number of channels it needs to search for and store.