Are you tired of staring at the same old channels, wondering if there’s more out there in the vast world of satellite television? For satellite TV enthusiasts, the term “blind scan” isn’t just jargon; it’s a powerful tool for discovering a universe of unlisted content. This comprehensive guide will walk you through everything you need to know about performing a blind scan on your digital receiver, helping you uncover hidden gems and ensure your channel list is always up-to-date. Get ready to transform your viewing experience by tapping into the full potential of your satellite setup.
What is Blind Scan?
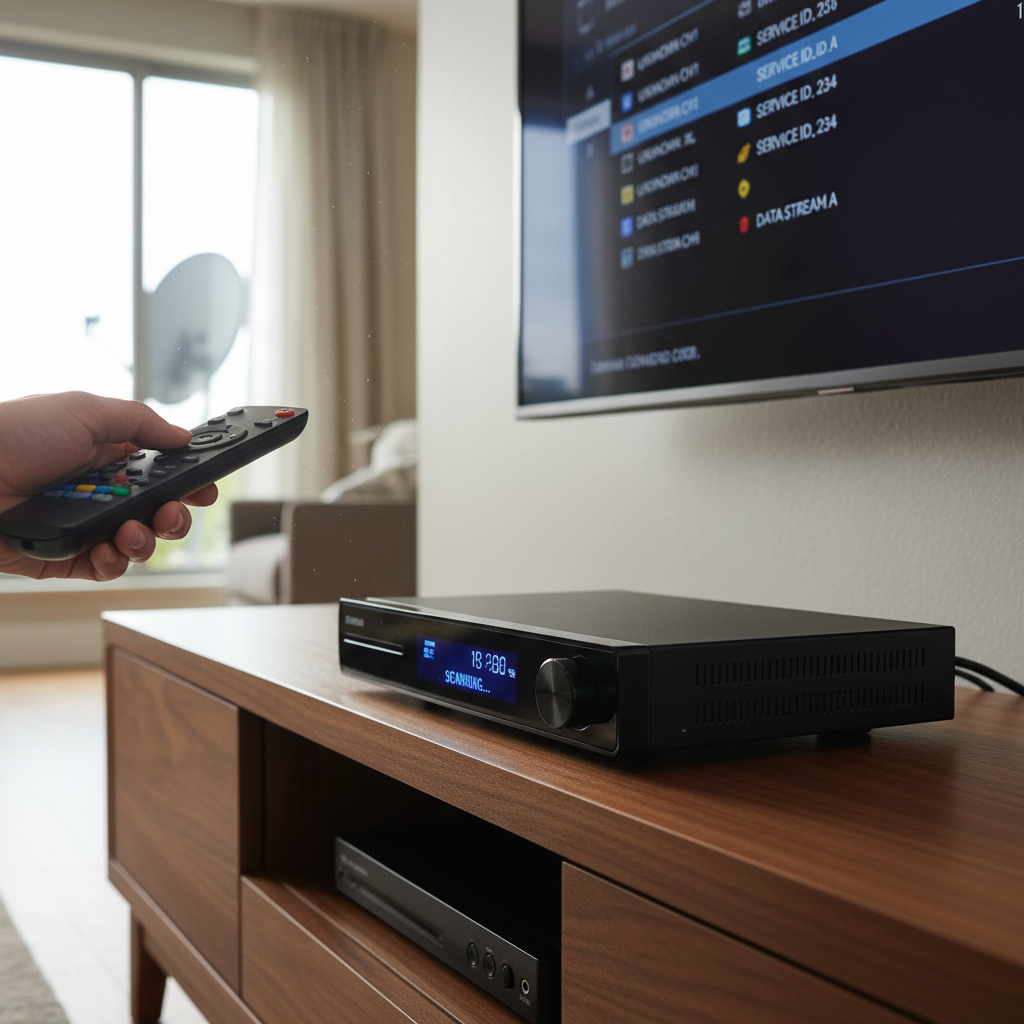
Blind scan, often referred to as blind search, is a highly effective feature found in many modern satellite receivers that allows you to discover new or unlisted channels and transponders. Unlike a standard “auto scan” that relies on a pre-programmed list of frequencies and parameters, a blind scan performs an exhaustive sweep across the entire frequency range of a chosen satellite. It meticulously searches for all active transponders, automatically detecting crucial parameters like frequency, symbol rate, and polarity, and then compiling a comprehensive list of all receivable channels. This makes it an indispensable tool for anyone looking to maximize their Free-To-Air (FTA) satellite TV experience.
Benefits of Performing a Blind Scan
Performing a blind scan offers several compelling advantages for satellite TV users, making it a routine practice for many enthusiasts:
- Discover Unlisted Channels and Feeds: The primary appeal of a blind scan is its ability to find channels or feeds that are not included in your receiver’s factory-programmed list or standard transponder databases. This often includes niche content, news and sports feeds, test transmissions, or regional broadcasts you might otherwise miss.
- Keep Your Channel List Updated: Satellite broadcasters frequently change frequencies, symbol rates, or even entire transponders. A blind scan ensures your receiver’s channel list is always current, automatically adding new channels and updating parameters for existing ones. This eliminates the need to manually input complex frequency data.
- Recover Missing FTA Channels: If you suddenly find some of your favorite Free-To-Air channels are missing, a blind scan is often the quickest and most reliable method to recover them. It re-scans for all available signals, effectively restoring any channels that might have been lost due to signal changes or receiver resets.
- Automatic Parameter Detection: With a blind scan, you don’t need to know the specific technical parameters of each transponder. Your receiver automatically detects and stores the frequency, symbol rate, polarity, and Forward Error Correction (FEC) for every active signal it finds, simplifying the process of channel acquisition.
Before You Begin: Essential Preparations
Before initiating a blind scan, a few crucial steps can significantly improve your chances of success and ensure you capture all available channels. Proper preparation prevents frustration and optimizes the outcome of your scan.
Satellite Dish Alignment
|
Our Picks for the Best Digital receiver in 2026
As an Amazon Associate I earn from qualifying purchases.
|
||
| Num | Product | Action |
|---|---|---|
| 1 | Donner Stereo Audio Amplifier, 600W Peak 2 Channel Receiver with Bluetooth 5.3, Phono, Optical, Coaxial, USB, FM, 2 Mic-in, Aux, RCA Input for Home, Karaoke, Theater Speakers, MAMP2 |

|
| 2 | Denon AVR-X1700H 7.2 Channel AV Receiver - 80W/Channel, Advanced 8K HDMI Video w/eARC, Dolby Atmos, DTS:X, Built-in HEOS, Amazon Alexa Voice Control |
|
| 3 | Pyle 200W Stereo Power Amplifier with Bluetooth - Dual Channel Audio Receiver - LED Display - RCA - USB - SD - MIC IN - FM Radio - AUX Input - Perfect for Home & Computer Audio - PDA29BU.5 |
|
| 4 | Pyle 4-Channel Audio Amplifier with Bluetooth - Home Stereo Receiver w/ 500W Max Power - Commercial or Karaoke - Dual Mic Input with Echo, Vol, Talk-Over - AUX In - Sub Out - USB-A MP3 Player, AM/FM |
|
| 5 | Denon AVR-S570BT AV Receiver 5.2 Channel 8K Ultra HD Audio & Video, Stereo Receivers, Denon AVR Wireless Streaming Bluetooth, (4) 8K HDMI Inputs, eARC, HD Setup Assistant |
|
| 6 | Sony STRDH190 2-ch Home Stereo Receiver with Phono Inputs & Bluetooth Black |
|
| 7 | Pyle Home Stereo Receiver with Bluetooth - 4 Channel Amplifier, 800 Watt Max, USB-A Input w MP3 Player, Easy Karaoke Setup with Mic Vol, Reverb and Delay, RCA in/Out, SD Card, FM Radio - PDA77BU |
|
| 8 | Daakro AK45 Stereo Audio Amplifier,300W Home 2 Channel Wireless Bluetooth 5.0 Power Amplifier System, Home Amplifiers FM Radio, USB, SD Card, with Remote Control Home Theater Audio Stereo System |
|
| 9 | Digital TV Converter Box, ATSC Tv Tuner - ZJBOX for Analog HDTV Live 1080P with Recording&Playback,HDMI Output, Timer Setting Tuner Function Digital Channel Free |
|
| 10 | YAMAHA R-S202BL Stereo Receiver |
|
The foundation of a successful blind scan is a perfectly aligned satellite dish. Even a slight misalignment can result in missing channels or receiving signals from adjacent satellites, leading to a cluttered and inaccurate channel list. Ensure your dish has a clear line of sight to the desired satellite without any obstructions like trees or buildings. If you suspect alignment issues, consider using a satellite finder tool or app to fine-tune its position.
LNB Settings and Power
Your Low Noise Block Downconverter (LNB), the device on your satellite dish that receives the signal, requires proper configuration and power from your receiver. Navigate to your receiver’s installation or antenna setup menu to verify the following:
- LNB Type: Most modern setups use a “Universal” LNB.
- LNB Frequency: Typically set to 9750/10600 for Universal LNBs.
- Diseqc Settings: If you have multiple dishes or an automated dish mover, ensure your DiSEqC settings are correctly configured.
- 22kHz Tone: Set to “Auto” or “OFF” based on your LNB and switch configuration.
- LNB Power: Critically, ensure “LNB Power” is set to “ON.” Without power, your LNB cannot function, and your receiver will show no signal.
Considering a Factory Reset or Deleting Old Channels
To prevent duplicate entries and potential confusion, many experts recommend deleting all existing channels or performing a factory reset on your receiver before a new blind scan. This ensures a clean slate, allowing the blind scan to populate your channel list with only the most current and active signals. While a factory reset might require re-configuring some basic settings like language, it provides the most pristine scanning environment.
Tools Needed
Beyond your satellite receiver and dish, the only essential tool you’ll need is your receiver’s remote control. Keeping your receiver’s user manual handy can also be beneficial, as specific menu navigations can vary slightly between models.
Step-by-Step Guide to Performing a Blind Scan
While the exact button presses may differ between receiver models, the general workflow for performing a blind scan remains consistent. Follow these steps to unlock a wealth of new channels:
1. Accessing the Menu
Begin by pressing the MENU button on your satellite receiver’s remote control. This will open the main menu interface.
2. Navigating to Installation/Scan Options
Use the arrow keys on your remote to navigate through the menu options. Look for sections labeled “Installation,” “Antenna Setup,” “Dish Setup,” “Channel Search,” or “Service Manager.” Select the appropriate option and press OK.
3. Selecting the Satellite
Within the installation or setup menu, you will typically find a “Satellite List” or “Satellite Setup” option. Highlight and select the specific satellite you wish to scan (e.g., Astra 28.2E, Eutelsat 16A, SES 5, IS20). Before proceeding, ensure that the signal strength and quality bars (usually displayed at the bottom of the screen) show a strong, stable signal. This confirms your dish is properly aimed.
4. Configuring Scan Options
Once you’ve selected your satellite, look for scan options. You’ll likely see choices like “Auto Scan,” “Manual Scan,” and “Blind Scan” or “Blind Search.”
- Select “Blind Scan”: Choose “Blind Scan” or “Blind Search” as your scan type. This instructs the receiver to sweep the entire frequency band.
- FTA Only: Most receivers offer an option to scan for “FTA Only” (Free-To-Air) channels. Set this to YES to exclude scrambled or encrypted channels from your scan results, which often appear as “bad signal” or “encrypted.”
- Network Search: Some receivers include a “Network Search” option, which can be set to “YES” to help locate all transponders.
- Polarization: Ensure “Polarization” is set to “Both” (or “H/V” or “Auto”) to scan both horizontal and vertical transponder signals.
- Frequency Range (Advanced): On some advanced receivers, you might be able to set “Start Frequency” and “End Frequency” ranges. While optional, narrowing this range can speed up the scan and prevent picking up signals from adjacent satellites, if you know the specific band you’re interested in.
5. Starting the Scan
After configuring your scan options, press OK or the designated scan button (often a colored button like blue) on your remote to begin the blind scan.
6. Saving Channels
The blind scan process can take several minutes, as your receiver methodically searches for and identifies all active transponders and channels. You will typically see a progress bar and channels appearing on the screen as they are found. Once the scan is complete, a summary of found channels will usually be displayed. Crucially, remember to select SAVE to store all the newly found channels to your receiver’s memory. If you exit without saving, you will lose the results.
Troubleshooting Common Blind Scan Issues
Even with careful preparation, you might encounter issues during or after a blind scan. Here are some common problems and their solutions:
“No Signal” or “Database Empty”
If your receiver displays “No Signal” or “Database Empty” during or after a scan, it often points to a fundamental signal problem.
- LNB Power: Double-check that LNB Power is enabled in your receiver’s settings.
- Dish Alignment: Re-verify your satellite dish alignment. Even a slight shift can cause signal loss.
- LNB Fault: An aging or faulty LNB can send incorrect frequencies or no signal at all. If you’ve ruled out alignment and power, replacing the LNB might be necessary.
Picking Up Channels from Adjacent Satellites
Sometimes, a blind scan might pick up channels from satellites other than the one you intended. This usually indicates:
- Dish Misalignment: Your dish might be slightly misaligned, causing it to “see” adjacent satellites.
- Dish Size: In some cases, a very large dish can pick up signals from multiple satellites if they are close together.
- Solution: Fine-tune your dish alignment. On some receivers, setting a specific “Start/End Frequency” range for the blind scan can help isolate the desired satellite. You may also need to manually delete unwanted channels.
Scan Takes Too Long / Incomplete Results
While blind scans naturally take longer than auto scans, excessively long scans or incomplete results could indicate:
- Weak Signal: A weak or intermittent signal can prolong the scan or prevent the receiver from locking onto certain transponders.
- Receiver Processing Power: Older or less powerful receivers may take longer to process the full sweep.
- Solution: Ensure optimal signal strength and quality. If your receiver offers advanced options, specifying a narrower frequency range can sometimes speed up the process.
Encrypted Channels Appearing
Blind scan primarily targets Free-To-Air (FTA) channels. If encrypted channels appear in your results, they will usually be marked as “scrambled,” “encrypted,” or simply won’t display any content.
- FTA Only Setting: Ensure you selected “FTA Only” in your scan options to filter these out. Blind scan cannot decrypt subscription-based channels.
Maximizing Your Blind Scan Results
To ensure you’re always getting the most out of your satellite setup and discovering the maximum number of available channels, consider these advanced tips and best practices:
- Regular Dish Checks: Periodically inspect your satellite dish for any physical damage, loose connections, or obstructions. Weather elements can sometimes shift alignment or degrade cable quality over time.
- Keep Receiver Firmware Updated: Many satellite receiver manufacturers release firmware updates that can improve blind scan performance, add support for new modulation types, or enhance overall channel detection capabilities. Check your manufacturer’s website for available updates and follow their instructions for installation.
- Understand Advanced Scan Options: If your receiver offers options like scanning specific frequency ranges or symbol rate ranges, familiarizing yourself with these can give you more control. For example, knowing a particular satellite primarily broadcasts within a certain frequency band can help you narrow the scan and potentially speed it up while avoiding unwanted signals from other satellites.
- Organize Your Channels: After a successful blind scan, your channel list might be extensive and unorganized. Take the time to create favorite lists, rename channels, or delete unwanted ones to personalize your viewing experience.
“A well-executed blind scan is like unlocking a secret library; it unveils the true potential of your satellite dish, bringing a fresh wave of content directly to your screen.” – Marcus Thorne, Satellite Technology Expert
Conclusion
The blind scan feature is an invaluable tool for any satellite TV enthusiast, empowering you to explore the full spectrum of available Free-To-Air content. By understanding what it is, how to properly prepare, and following a methodical step-by-step process, you can effortlessly discover new channels, keep your receiver’s database current, and troubleshoot common issues. Don’t limit your viewing horizons to pre-programmed lists; embrace the power of the blind scan and unlock a richer, more diverse world of satellite television. What hidden treasures will you discover on your next scan?
Frequently Asked Questions
What’s the difference between “Auto Scan” and “Blind Scan”?
Auto Scan uses a pre-programmed list of transponder frequencies to search for channels, relying on existing data. Blind Scan, however, performs a comprehensive sweep of the entire satellite spectrum, detecting all active transponders and their parameters automatically without needing a pre-defined list, thereby finding potentially new or unlisted channels.
Can a blind scan unlock encrypted channels?
No, a blind scan cannot unlock encrypted or subscription-based channels. It only detects active signals and identifies their parameters. Encrypted channels will typically appear as “scrambled” or “encrypted service” in your channel list, requiring a valid subscription and decoding hardware to view.
How long does a blind scan typically take?
The duration of a blind scan varies depending on the satellite, the receiver’s processing speed, and the signal quality. It can range from a few minutes (3-7 minutes for some satellites) to potentially longer for older receivers or very broad frequency sweeps. Patience is key during this process.
My blind scan found channels, but I have no picture or sound. Why?
This usually means the channels are either encrypted (see above) or are data/test feeds not intended for general viewing. It could also indicate a weak signal for that specific transponder, where the receiver detected its presence but couldn’t decode the content effectively.
Do I need to re-align my dish before every blind scan?
Generally, no. If your dish is already correctly aligned and you are receiving strong signals, you don’t need to realign it for every scan. However, a slight adjustment might be beneficial if you notice consistent signal drops or if the blind scan yields significantly fewer channels than expected.
Is it safe to perform a factory reset before a blind scan?
Yes, it is generally safe to perform a factory reset. This action clears all custom settings and channel lists, returning the receiver to its default state. It often helps ensure a clean and comprehensive blind scan, but remember to note down any specific LNB or DiSEqC settings you might have configured previously.