Has your digital box been acting up, freezing unexpectedly, or struggling with sluggish performance? These common frustrations can disrupt your entertainment experience, turning a relaxing evening into a troubleshooting headache. Fortunately, a factory reset can often be the most effective solution to breathe new life into your device, restoring it to its original, optimal state. This guide will walk you through everything you need to know about factory resetting your digital box, from understanding its purpose to step-by-step instructions for various scenarios.
What is a Factory Reset and Why Do It?
A factory reset, also known as a hard reset or master reset, is a software restoration process that reverts an electronic device back to its original system state, as it was when it left the factory. For your digital box—whether it’s an Android TV box, a cable receiver, a satellite box, or a streaming media player—this means erasing all user data, settings, installed applications, and any personalized configurations.
The primary reasons to perform a factory reset include:
- Troubleshooting persistent issues: If your digital box is freezing, crashing, displaying error messages, or suffering from slow performance, a reset can clear software glitches and corruption.
- Resolving connectivity problems: Network issues that can’t be fixed by simpler restarts might benefit from a full reset.
- Preparing for sale or transfer: To protect your privacy, a factory reset ensures all your personal data and account information are removed before you pass the device on to a new owner.
- Fixing forgotten passwords or PINs: If you’re locked out of your device due to a forgotten password, a hard reset can bypass this, though you’ll lose all data.
It’s important to view a factory reset as a last resort for troubleshooting. Always try simpler solutions first, such as a basic power cycle (unplugging for 30 seconds and plugging back in) or checking for software updates, before committing to a full reset.
Essential Preparations Before Resetting Your Digital Box
Because a factory reset erases all data, a little preparation can save you a lot of hassle.
- Understand Data Loss: Be fully aware that all personal settings, downloaded apps, login credentials, and potentially recorded content (depending on the device and its storage type) will be permanently deleted. There’s generally no way to recover this data once the reset is complete.
- Backup Important Information: If your digital box allows for data backup, consider doing so. For most streaming boxes, this isn’t a common feature for user data, but you might want to note down:
- Your Wi-Fi network name (SSID) and password.
- Login details for streaming services (Netflix, Hulu, Amazon Prime Video, etc.).
- Any specific picture or sound settings you’ve customized.
- Your channel lineup or favorite channel lists, if manually configured.
- Ensure Stable Power: A power interruption during the reset process can corrupt your device’s firmware, rendering it inoperable. Make sure your digital box is connected to a reliable power source and avoid unplugging it until the process is fully complete and the device has restarted.
Taking these steps ensures you’re prepared for the post-reset setup and minimize any potential inconveniences.
Methods to Factory Reset Your Digital Box
The method you use to factory reset your digital box typically depends on whether the device is still responsive enough to navigate its menus or if it’s completely frozen.
Method 1: The Soft Reset (Via Settings Menu)
|
Our Picks for the Best Digital receiver in 2026
As an Amazon Associate I earn from qualifying purchases.
|
||
| Num | Product | Action |
|---|---|---|
| 1 | Sony STRDH190 2-ch Home Stereo Receiver with Phono Inputs & Bluetooth Black |

|
| 2 | Donner Stereo Audio Amplifier, 600W Peak 2 Channel Receiver with Bluetooth 5.3, Phono, Optical, Coaxial, USB, FM, 2 Mic-in, Aux, RCA Input for Home, Karaoke, Theater Speakers, MAMP2 |
|
| 3 | Pyle Home Stereo Receiver with Bluetooth - 4 Channel Amplifier, 800 Watt Max, USB-A Input w MP3 Player, Easy Karaoke Setup with Mic Vol, Reverb and Delay, RCA in/Out, SD Card, FM Radio - PDA77BU |
|
| 4 | Denon AVR-X1700H 7.2 Channel AV Receiver - 80W/Channel, Advanced 8K HDMI Video w/eARC, Dolby Atmos, DTS:X, Built-in HEOS, Amazon Alexa Voice Control |
|
| 5 | Pyle 4-Channel Audio Amplifier with Bluetooth - Home Stereo Receiver w/ 500W Max Power - Commercial or Karaoke - Dual Mic Input with Echo, Vol, Talk-Over - AUX In - Sub Out - USB-A MP3 Player, AM/FM |
|
| 6 | Digital TV Converter Box, ATSC Tv Tuner - ZJBOX for Analog HDTV Live 1080P with Recording&Playback,HDMI Output, Timer Setting Tuner Function Digital Channel Free |
|
| 7 | Denon AVR-S570BT AV Receiver 5.2 Channel 8K Ultra HD Audio & Video, Stereo Receivers, Denon AVR Wireless Streaming Bluetooth, (4) 8K HDMI Inputs, eARC, HD Setup Assistant |
|
| 8 | Daakro AK45 Stereo Audio Amplifier,300W Home 2 Channel Wireless Bluetooth 5.0 Power Amplifier System, Home Amplifiers FM Radio, USB, SD Card, with Remote Control Home Theater Audio Stereo System |
|
| 9 | YAMAHA R-S202BL Stereo Receiver |
|
| 10 | Pyle 200W Stereo Power Amplifier with Bluetooth - Dual Channel Audio Receiver - LED Display - RCA - USB - SD - MIC IN - FM Radio - AUX Input - Perfect for Home & Computer Audio - PDA29BU.5 |
|
This is the most common and recommended method if you can still access your digital box’s on-screen menus.
- Access Settings: From your digital box’s home screen, navigate to the
Settingsmenu. This is often represented by a gear or cog icon. - Find System or Device Preferences: Within the Settings menu, look for an option like
System,Device Preferences,Storage & Reset, orBackup & Reset. The exact wording can vary significantly by brand and operating system (e.g., Android TV, Roku OS, proprietary cable box software). - Locate Reset Option: Once you’re in the appropriate system or device menu, find
About,Reset,Factory data reset, orFactory reset. - Confirm the Reset: Select the factory reset option. You will usually be prompted with a warning message explaining what data will be erased. Confirm your decision by selecting
Erase EverythingorYesto proceed. - Wait for Completion: The digital box will begin the reset process, which may take several minutes. Do not power off or unplug the device during this time. It will typically restart automatically once the reset is complete.
This method is ideal for resolving minor software glitches or preparing a functional device for a new user.
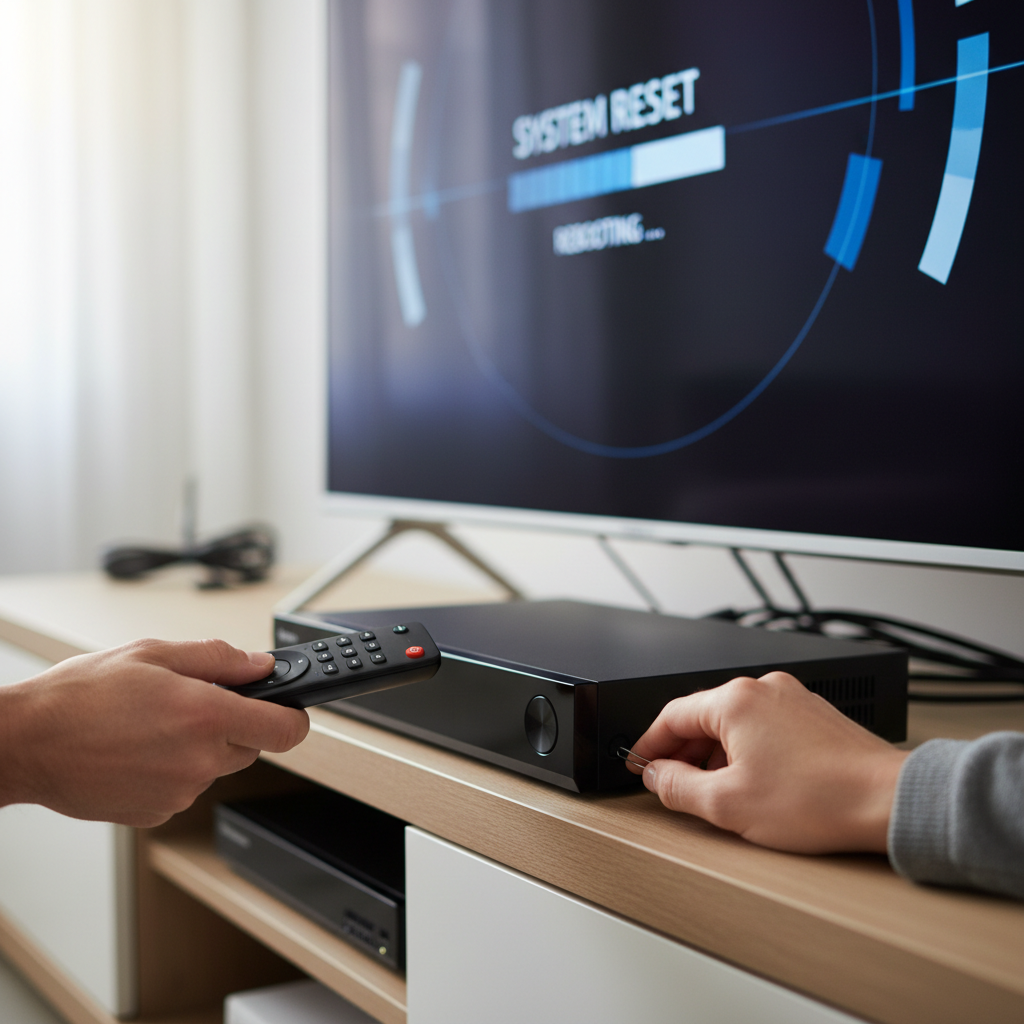
Method 2: The Hard Reset (Using a Physical Button)
When your digital box is unresponsive, frozen, or you cannot access the on-screen menus, a hard reset using a physical button is your alternative.
- Power Off Your Device: First, ensure the digital box is powered off. The most reliable way is to unplug it from its power source entirely. Wait for about 10-15 seconds to ensure a full power discharge.
- Locate the Reset Button: Most digital boxes have a physical reset button. This can be:
- A small, tactile button (often recessed) on the back or bottom of the device.
- A pinhole button that requires a paperclip or a thin pointed object to press.
- On some older models, a combination of buttons on the device itself (e.g., power + channel up).
- Initiate Recovery Mode (or Hard Reset):
- For Pinhole/Recessed Buttons: While the device is unplugged, use a paperclip to press and hold the reset button. While still holding the button, plug the power cord back into the digital box. Continue holding the button for 10-30 seconds until you see a recovery mode screen on your TV or notice the device’s LED lights blinking rapidly.
- For Tactile Buttons: The process is similar. Press and hold the accessible reset button while plugging the device back in. Hold until the recovery screen appears.
- For Roku Devices: With the player powered on, press and hold the
Resetbutton for about 10 seconds. Release when the status LED blinks rapidly.
- Navigate and Confirm (if in Recovery Mode): If you’ve entered a recovery mode menu, use your remote control (or the device’s physical buttons, if applicable) to navigate to options like
Restore Factory SettingsorFactory Reset. Select and confirm to begin the process. If no menu appears, the device may simply perform the reset automatically after releasing the button. - Allow the Device to Reboot: Once initiated, the digital box will wipe its data and reboot. Again, do not interrupt the power during this critical phase.
This method is crucial for reviving an unresponsive device that won’t allow access to its regular settings.
What to Expect After a Factory Reset
Once the factory reset is complete, your digital box will act as if it’s fresh out of the box.
- Initial Setup: You’ll be greeted by an initial setup wizard, prompting you to select your language, connect to your Wi-Fi network, and sign in to any required accounts (e.g., Google account for Android TV, Roku account for Roku devices).
- Channel Scanning/App Reinstallation: For traditional digital receivers, you’ll need to perform a channel scan to find and store all available channels. For streaming boxes, you’ll have to reinstall your favorite apps and log back into each service.
- Firmware Updates: The device might prompt you to download and install the latest firmware updates. It’s highly recommended to do so to ensure optimal performance and access to the newest features and bug fixes.
- Reconfigure Settings: You’ll need to re-enter any custom picture, sound, or parental control settings you had previously.
While it takes some time to set everything up again, the result should be a cleaner, faster, and more stable digital box.
When to Seek Professional Help
While a factory reset can resolve many software-related issues, there are instances when it might not be enough:
- Persistent Problems After Reset: If the issues (freezing, errors, no signal) continue even after a successful factory reset and re-setup, it could indicate a hardware malfunction.
- Device Won’t Power On: A factory reset cannot fix a device that won’t even power on. This is almost always a hardware power supply issue.
- Damaged Components: If your digital box has physical damage, or if you suspect internal components are faulty, a reset won’t help.
In these situations, it’s best to contact the manufacturer’s customer support, your service provider (for cable/satellite boxes), or a qualified electronics repair technician. They can diagnose hardware problems and advise on repair or replacement options.
Conclusion
A factory reset is a powerful tool for troubleshooting common issues and refreshing your digital box, bringing it back to peak performance. By understanding what it entails, taking necessary precautions, and following the correct steps—whether through the on-screen settings or a physical button—you can effectively resolve many frustrating problems. While it requires a bit of re-setup time, the benefits of a responsive, error-free entertainment experience are well worth the effort. Don’t let a sluggish digital box diminish your viewing pleasure; a reset might be just what it needs to shine again.
Have you successfully revived a digital box with a factory reset, or do you have a unique troubleshooting tip to share?
Câu Hỏi Thường Gặp
When should I consider factory resetting my digital box?
You should consider a factory reset as a last resort when your digital box is experiencing persistent software glitches, freezing, performance slowdowns, or displaying unresolvable error messages that haven’t responded to simpler troubleshooting steps like a power cycle or software updates. It’s also essential if you’re selling or giving away the device to wipe your personal data.
Will a factory reset delete my recorded shows?
For many digital video recorders (DVRs) or digital boxes with internal storage, a factory reset will indeed erase all recorded shows and personal settings. However, some cloud-based DVR services might retain your recordings online. Always check your specific device’s manual or service provider’s information to understand the impact on your recorded content.
Is there a difference between a “soft reset” and a “hard reset” for a digital box?
Yes, generally. A “soft reset” typically refers to rebooting the device (like turning it off and on again), while a “hard reset” usually means a factory reset, which wipes all data and settings, restoring the device to its original factory condition. The term “hard reset” can also sometimes refer to using a physical button to initiate the factory reset when the device is unresponsive.
How long does a factory reset take?
The duration of a factory reset can vary depending on the digital box model and the amount of data it needs to clear. Typically, the process itself takes anywhere from a few minutes (e.g., 5-10 minutes) to complete the data wipe and reboot. After the reset, you’ll need additional time to go through the initial setup, connect to Wi-Fi, reinstall apps, and perform channel scans.
What should I do if my digital box won’t factory reset?
If your digital box fails to factory reset even after attempting both the soft and hard reset methods, it could indicate a deeper hardware issue. In this scenario, your best course of action is to contact the manufacturer’s customer support or your service provider. They can provide specific troubleshooting for your model or advise on repair or replacement options.